Sign Up to Our Newsletter
Get all the latest Wilkinson Cameras news, offers, event infomation & more direct to your inbox.
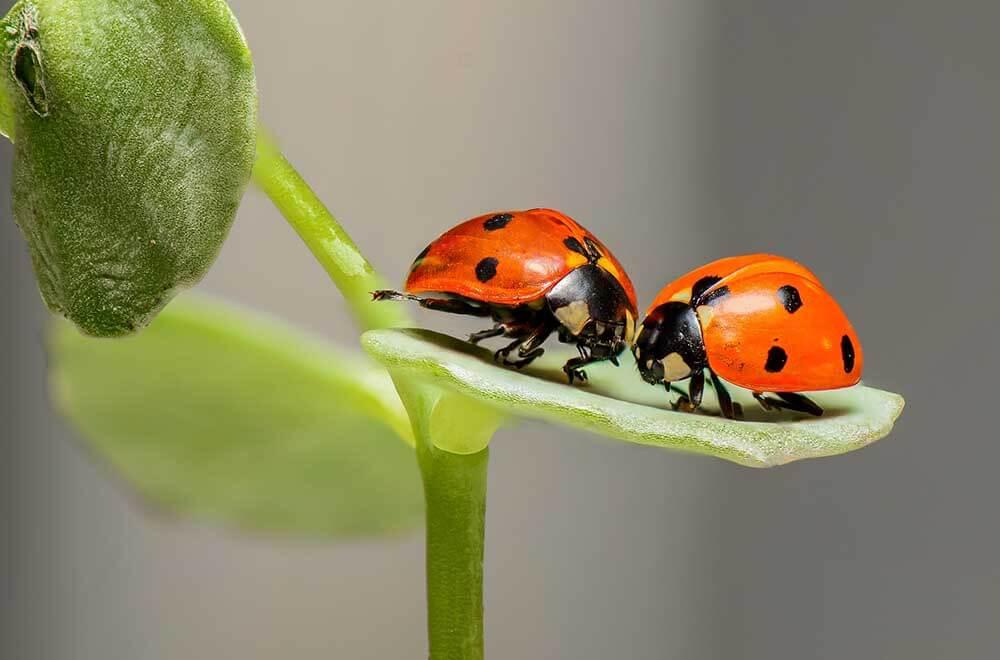
The period from late spring to early summer is perhaps the best time of year to shoot macro photos of insect. From woodlands to meadows to local wetlands, you’ll find that butterflies are at their peak, dragonflies buzzing about and damselflies basking in the sun on vegetation.
In this month's guest blog from Camera Jabber you'll learn ten great tips for shooting macro photography of insects in your own garden.
The great thing about this time of year for macro photographers is that you don’t have to travel beyond your garden to capture great images. Below we'll share our best advice for going on a macro safari of your garden and capturing its miniature wildlife in fascinating detail. But first…
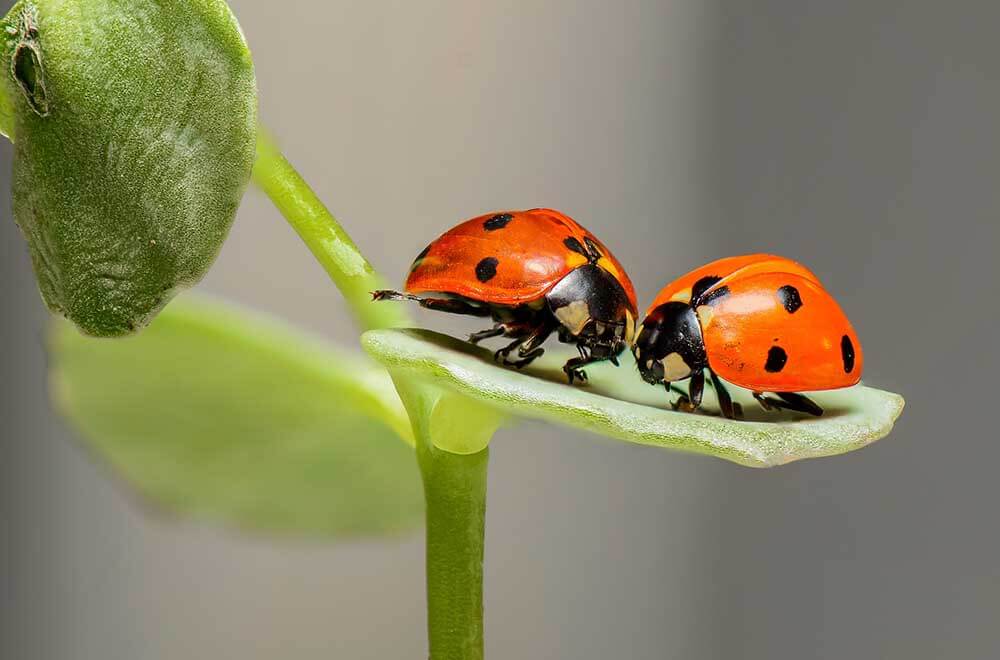
When shooting macro photography, its important to understand the relationship between the actual size of the subject being photographed and its image size on your camera’s imaging sensor.
You’ve probably heard the term magnification rate, and this is the relationship between these factors only expressed as a percentage. For instance, a quarter, a half or three-quarters. And then there is life-size representation, which is a ratio of 1:1.
When you take a picture of any subject below life-size, this means it will appear on your sensor smaller than its true size.
When you’re taking macro photos at magnifications beyond life-size, the final image can look spectacular… but you’ll need some patience, as it can be quite challenging.
The problem lies with the elements. When you are shooting at magnification ratios beyond 1:1, obstacles like wind and subject movement become even bigger problems.
These might be minor focusing errors in low-level close-ups, but at this size they can totally spoil an image. Even at small apertures your depth of field is reduced to a few millimetres at most. The best solution in these instances is to use flash.
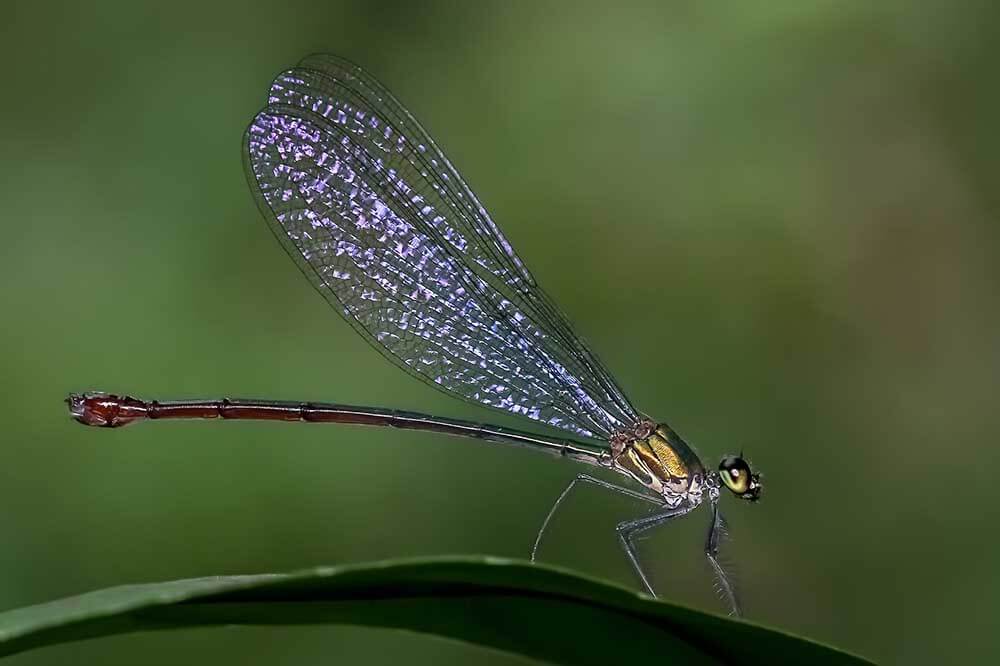
It sounds simplistic, but it’s something we all forget to do. Research your subjects, even just a little bit, and you’ll get clues on where to find them based on their habitat preferences, and you’ll discover how and when to capture them best based on their behaviour and flight periods.
It’s not always possible to capture that dragonfly, but there are plenty of great static subjects like snails or beetles you can photograph with much more ease. When there’s less time pressure, you’ll have more opportunity to experiment with different equipment and techniques.
If you’re using flash, try capturing subjects with medium tones and avoid the paler creepy crawlies.
We’re not suggesting anything sinister here, just that certain types of flowers and plants are great for attracting butterflies and other insects to your garden. A quick Google search will give you a long list of plants. Or better yet, pop down to your local garden centre and the staff there will be able to point you to numerous plants that will do the job.
When it’s warm outside, insects are at their most active and aware. The best way to capture them is to keep your movements slow and direct. Vary the angles from which you shoot, as well as the distance. This will ensure you at least come away with something if the insect decides to buzz off.
On that note, you’ll get better pictures if you avoid the warmest parts of the day altogether. Insects are very active and mobile during these times. If you can shoot in the early morning or late afternoon and evening when temperatures are lower, you’ll have a much better hit rate.
We tend to use the rain as an excuse to put our cameras away, but a light rain won’t harm your camera and can yield some fantastic, atmospheric shots! In particular, look for sheltered spots where it might be a little bit warmer. Insects always seek out shelter when it rains.
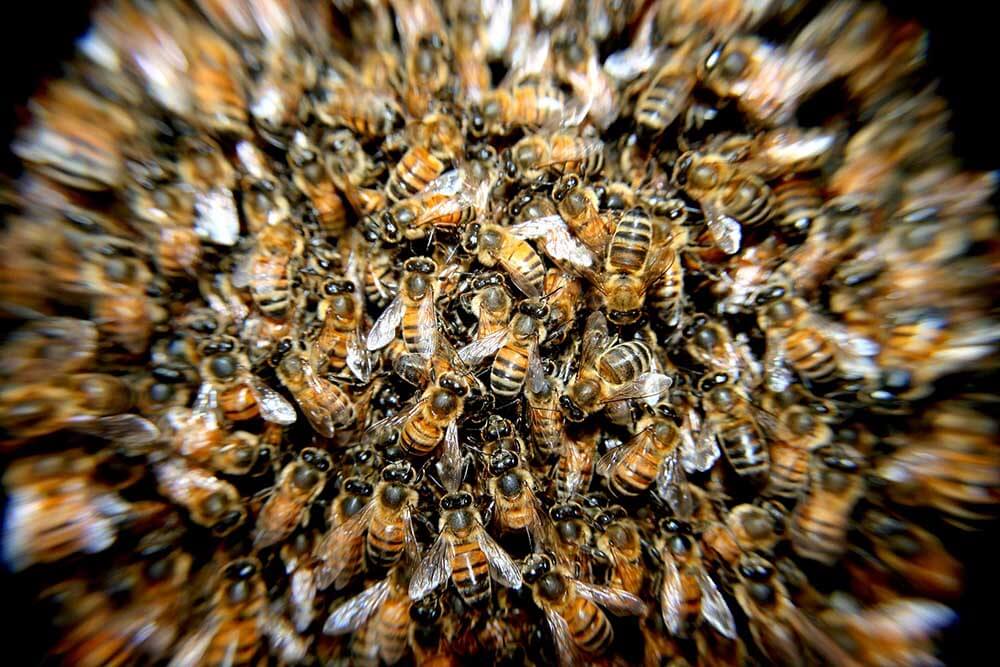
You know your garden better than anyone. Are there areas where bugs all tend to congregate? Find these so-called hot spots, and seek these out on those days when the conditions are poor. You’re more likely to find a great shot on a day when you’d otherwise have none.
Use a tripod whenever possible. A tripod not only provides support and reduces the risk of camera shake and allows you to shoot at slower shutter speeds, but it will also help you give some consistency to your compositions
When you’re shooting close-up shots of very small insects it’s important to diffuse the light from your flashgun, otherwise you’ll likely end up with unwanted reflections. Flash diffusers aren’t expensive and you can even fashion one from a plastic milk carton. Look for subjects with backgrounds that are fairly close, and this will also help avoid flash fall-off.
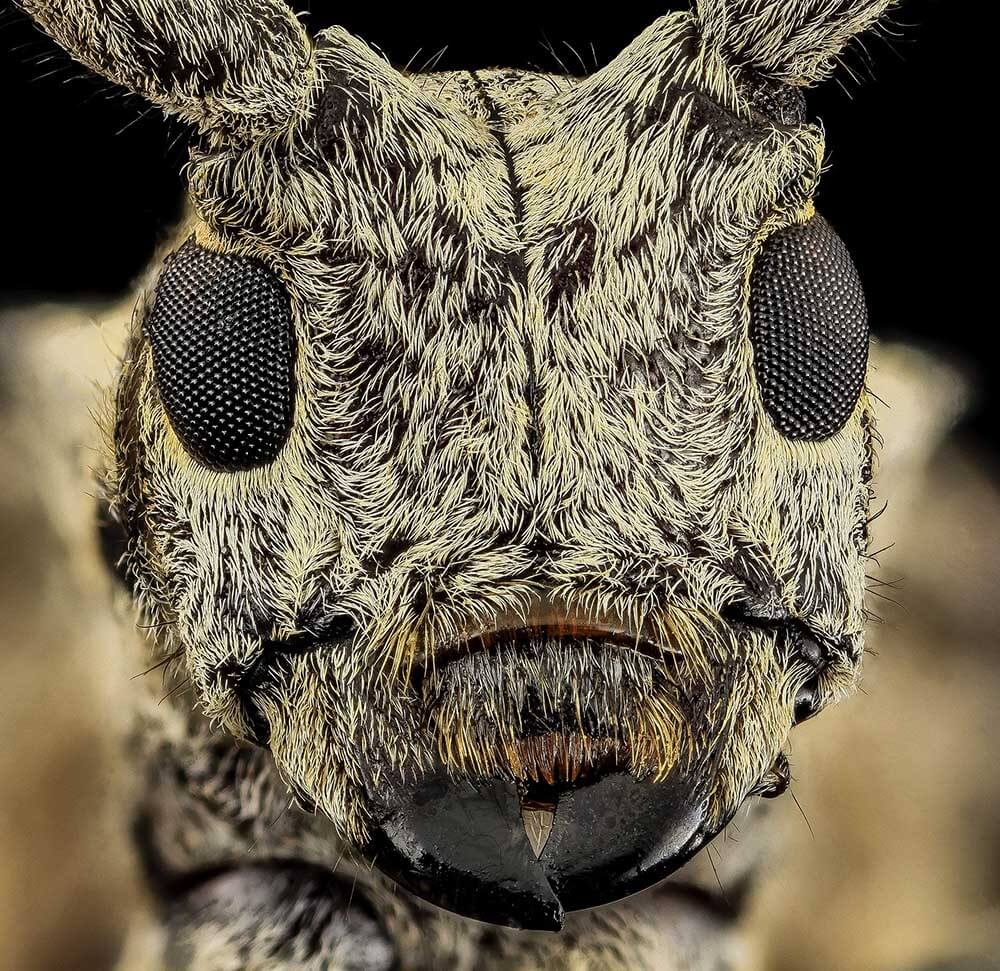
Look beyond the beauty of your subjects themselves and look for ways you can capture action, their lives, tell a story about them. If you’re patient you might find groups attacking each other, insects feeding, babies and other types of interesting behavior. If all your shots are head-on shots of insects, as striking as they may be your portfolio may end up looking a bit samey. Think about ways you can mix it up. Wait for the best light. Maybe even try a wider lens to capture more environmental context.
Camera Jabber is the home of digital photography, with in-depth camera reviews, buying guides, news and photography tips to help you master your camera. For more great content on everything photography, click through to Camera Jabber’s website, here.
And to read more of our blog posts, click here.
Why not take a look at our wide range of macro lenses available on our website, here.
Get all the latest Wilkinson Cameras news, offers, event infomation & more direct to your inbox.
